Create a persistent "Connect Your Wallet" Button for your dApp using only React.js and localStorage


While we move into the Web 3.0 world, there are a lot of component changes inside the application that can be seen, to fully adapt to the decentralization infrastructure. We have already seen heavy use of Blockchains to store and register transactions, and the use of Decentralized File system protocols like IPFS to store user data like images, videos, metadata files, etc. With all these changes coming in the current ecosystem, a few of them are becoming essential to make the transition from 'App' to 'dApp'.
One of the changes that you see across all Decentralized applications and platforms is the "Signing in with your wallet" or "Connect your Wallet" option. In the below article, I will demonstrate how to make a "Connect your Wallet" button for your dApp with Persistent storage to keep the address information between page refreshes using only React.js and LocalStorage.
Note: You can skip directly to Creating "Connect Your Wallet" section below, if you already have a react-app setup.
Installing Pre-requisites
Create your React App
npx create-react-app exampleapp
Install Web3.js and Hardhat (You can use Truffle as well)
npm install --save-dev hardhat - Hardhat is an Ethereum development environment.
npm install web3 - Web3.js is a collection of libraries that allow you to interact with a local or remote Ethereum node using HTTP, IPC or WebSocket.
Install the Metamask extension in your browser
For Microsoft Edge - MetaMask - Microsoft Edge Addons
For Google Chrome - Metamask - Google Chrome
For Mozilla Firefox - Metamask - Mozilla Firefox
Create or Import a Wallet
When you install Metamask for the first time, it will prompt you to "Create a new Wallet" or "Import a Wallet". Choose "Create a new Wallet" and follow the steps to create a wallet with an address.
Important - Please keep your private key and Seed Phrase in a secret and safe location.
Install react-bootstrap (Optional)
This step is fairly optional and depends upon your choice, you can opt for other CSS Libraries as well.
npm install react-bootstrap bootstrap
Run your React app for the first time
npm start
Go to address localhost:3000 or 127.0.0.1:3000 The default React Home page should look like this
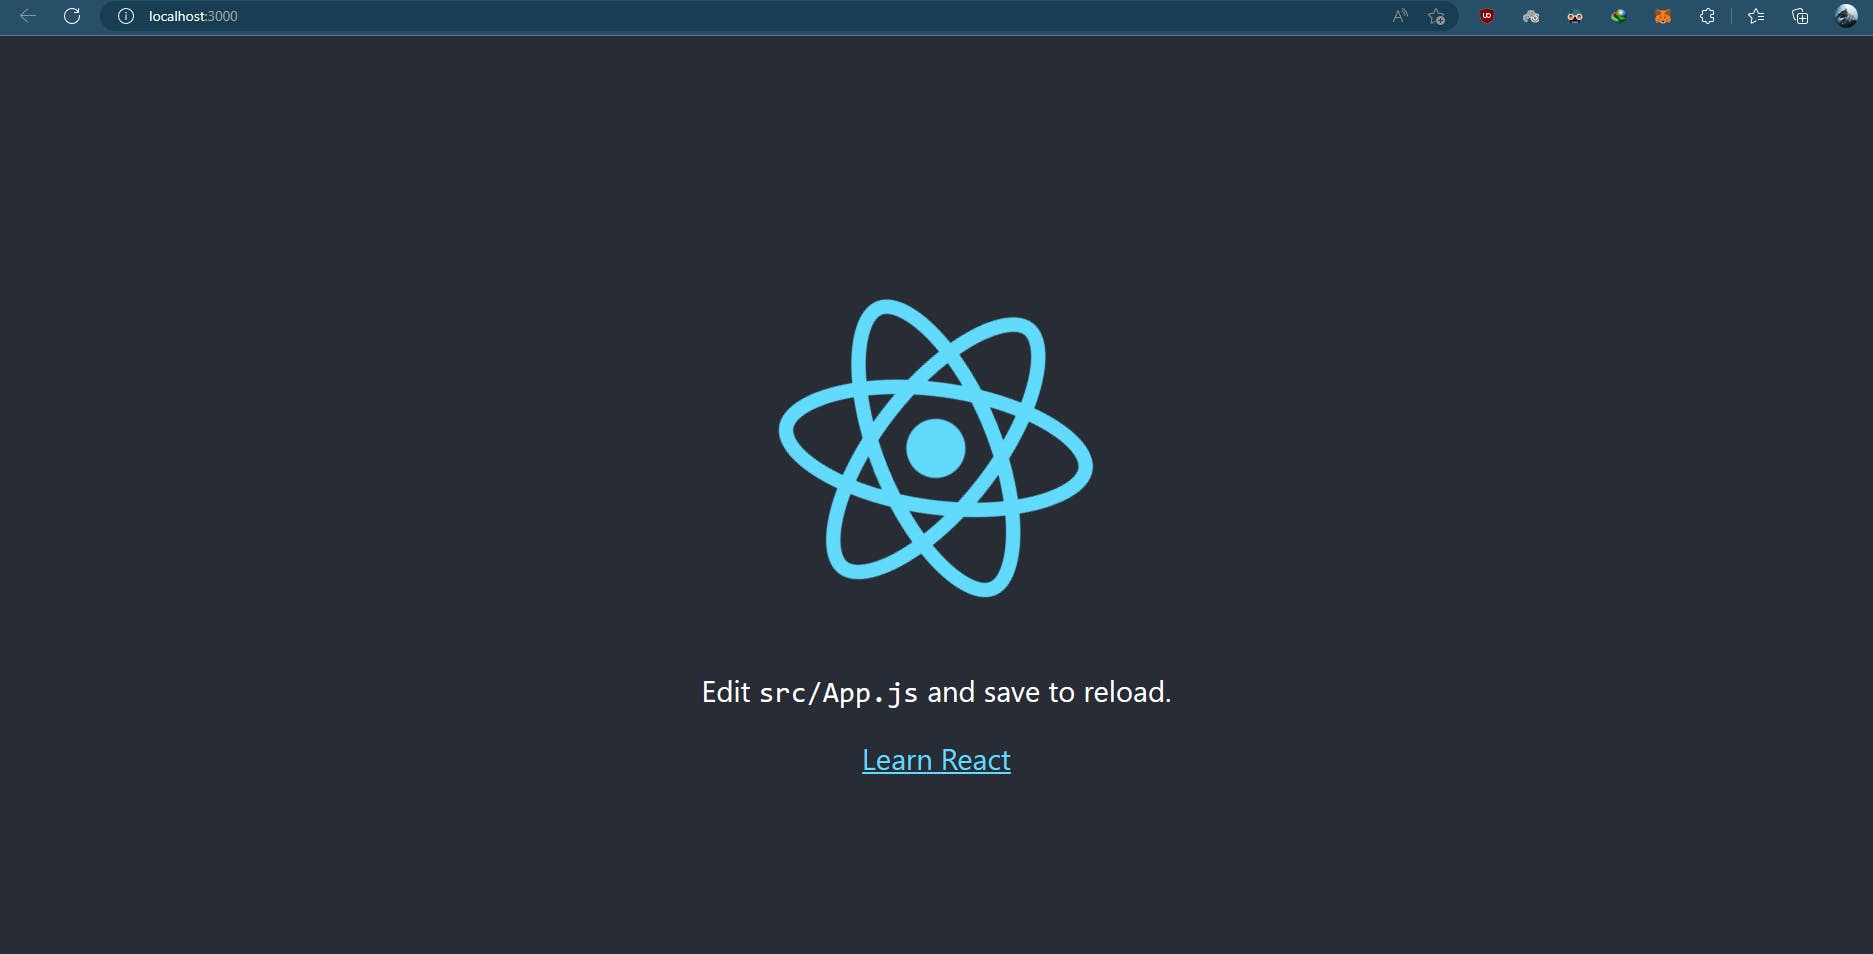
Up until here, you have successfully set up the most basic react app and are ready to start developing your stuff on top of this.
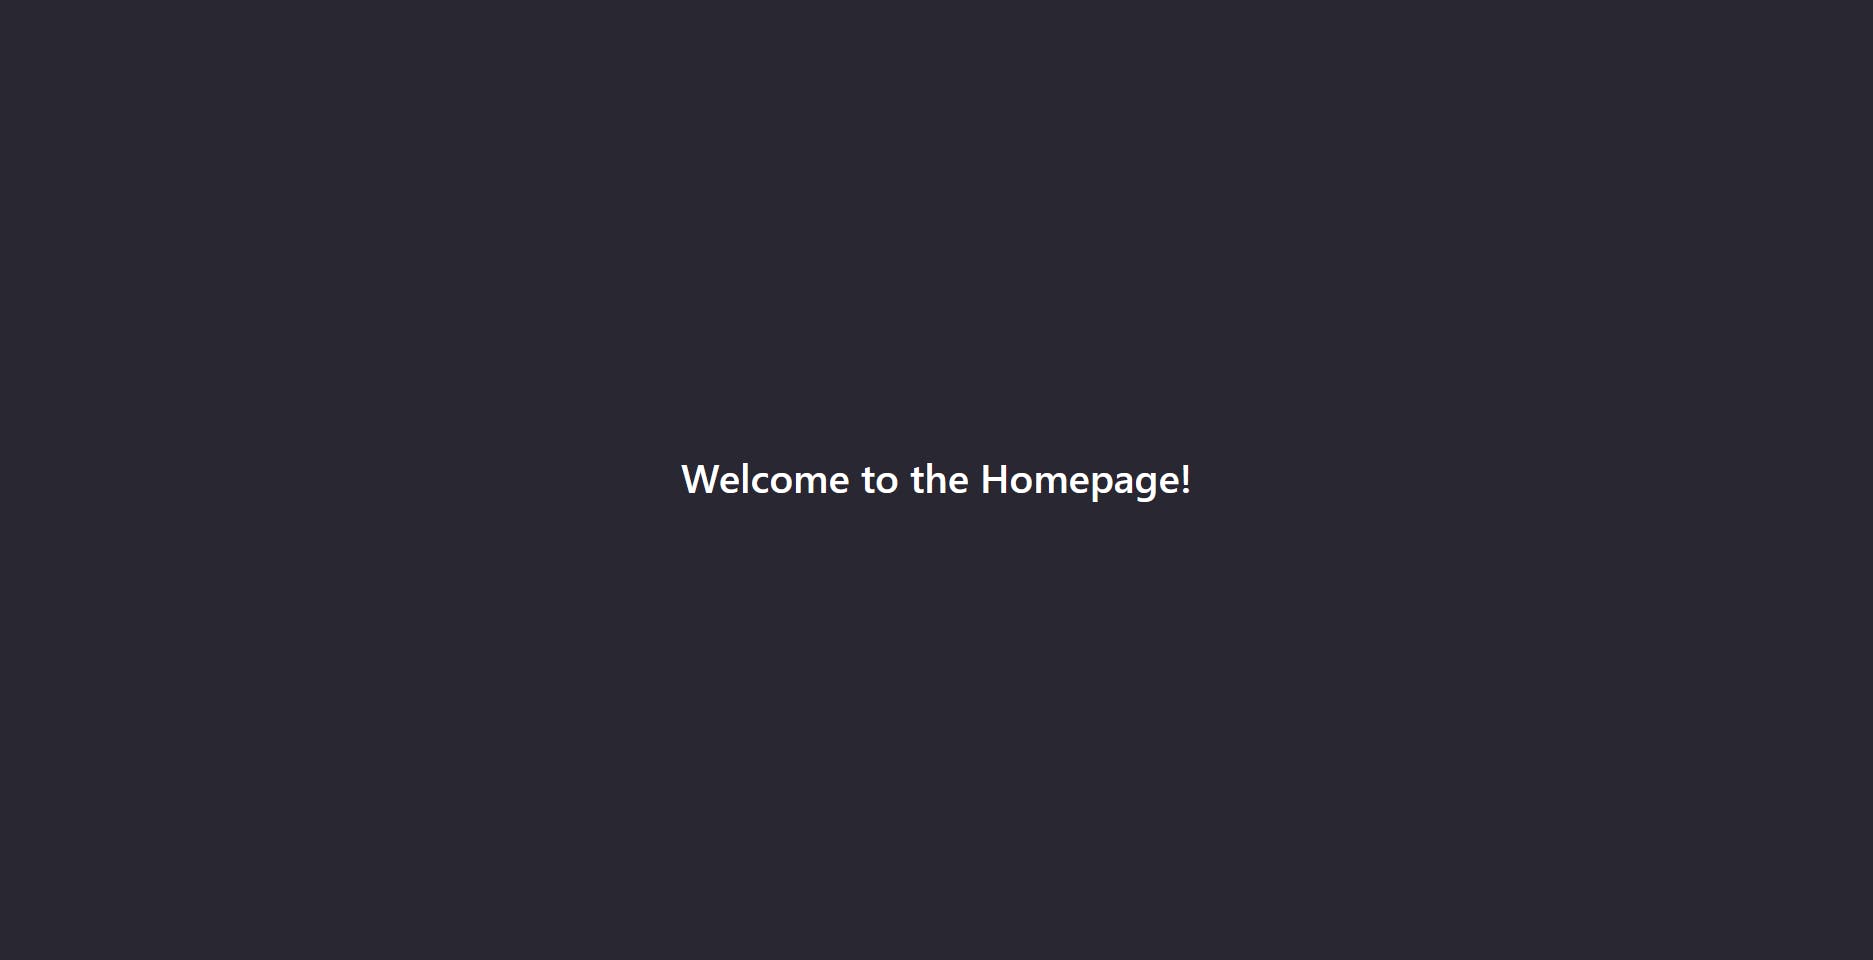
To move forward, traverse to the App.js file in the src/ directory of exampleApp. You can go ahead and remove the default React boiler plate code from it. Replace the code with something simple like below
import './App.css';
import {Container, Row, Col} from 'react-bootstrap';

function App() {
    return (
        <Container fluid className="App">
            <Row className="content-row">
                <Col>
                    <h1>Welcome to the Homepage!</h1>
                </Col>
            </Row>
        </Container>
    );
}

export default App;
In the App.css under the same src/ directory, you can replace the boilerplate code with the below code. You can change the CSS to whatever style suits you. Be you ;)
.App {
  background-color: #292731;
  color: white;
  height: 100vh;
  width: 100vw;
}

.content-row {
  text-align: center;
  height: 100vh;
  align-items: center;
}
Result :
Creating "Connect Your Wallet"
Now it's time to add A "Connect Your Wallet" button to retrieve the accounts from the user's wallet and handle the 'accountsChange' event, and also make the connection persistent between refreshes using only React.js
Create 3 new directories inside /src - components, assets, hooks
components - To store all the custom components for your React app
assets - This directory will hold all CSS, js, and other files that are imported inside components
hooks - This will contain all the custom hooks that you create for your React app. In our case, it will be
useLocalStoragehook.
Create a custom Hook - useLocalStorage.js in src/hooks directory
In simple words, when a call to this hook is made a "key" and an initialValue is passed, and whenever the value is to be updated the setStoredValue function is called.
We are using this hook specifically to store the user account's address in local storage at the client's end. Why are we doing this? Below is the reason
- Since we are not using any back-end or any third-party library. We need to make the address info persistent between refreshes. Otherwise, when the user hits refresh, he will have to again Connect their account.
import { useState, useEffect } from 'react';

const useLocalStorage = (key, initialValue) => {
    const [storedValue, setStoredValue] = useState(() => {
        try {
            const item = window.localStorage.getItem(key);
            return item ? JSON.parse(item) : initialValue;
        } catch (error) {
            console.log(error);
            return initialValue;
        }
    });

    useEffect(() => {
        try {
            window.localStorage.setItem(key, JSON.stringify(storedValue));
        } catch(error) {
            console.log(error)
        }
    }, [key, storedValue])

    return [storedValue, setStoredValue];
}

export default useLocalStorage;
Create a new Component - WalletConnect.js in src/components directory
We will return either the current Address of the user or A "Connect your wallet" button with this component. In this component, we will use useState hook and retreive the localStorage value of 'address'. If the value if empty OR wallet like metamask has not been logged in, the component will return a simple "Connect Your Wallet" Button, else, It will return the active account address.
import { useEffect, useState } from 'react';
import Button from 'react-bootstrap/Button';
import useLocalStorage from '../hooks/useLocalStorage';
import Web3 from 'web3';

const WalletConnect = (props) => {
    const ethereum = window.ethereum; // window.ethereum is an object provided by metamask that provides access to the Ethereum network
    const web3 = new Web3(ethereum);
    // Creating a state to check if metamask is loggedIn
    const [metamaskLogin, setMetamaskLogin] = useState(false)
    // Using the useLocalStorage hook to set an empty initialValue for address in localStorage
    const [address, setAddress] = useLocalStorage('address', '');
    // Creating a state to check the currentAddress by retreiving the value from localStorage
    const [currentAddress, setCurrentAddress] = useState(JSON.parse(localStorage.getItem("address")));

    // handleConnect will request the list of accounts that the Wallet holds in current environment using web3 provider.
    const handleConnect = async(event) => {
        await web3.eth.requestAccounts()
        .then((accounts) => {
            // If retreival of accounts was successfull, changing the login state to true
            setMetamaskLogin(true)
            // Calling the setAddress function to update the initial empty value of address to current connected address and storing in localStorage
            setAddress(accounts[0])
        }).catch((error) => {
            console.log(error.message)
        })
    }

    // checkAccounts will run whenever this component is mounted or "Called" to check if metamask is logged in and connected.
    const checkAcounts = async() => {
        await web3.eth.requestAccounts().then((account_data) => {
            if(account_data.length > 0) setMetamaskLogin(true)
        }).catch((error) => {
            console.log(error.message)
        })
    }

    ethereum.on('accountsChanged', handleConnect);

    // useEffect hook will run when the component mounts and update when user switches accounts because of the above ethereum.on('accountsChanged') listener.
    useEffect(() => {
        const user_address = localStorage.getItem('address');
        checkAcounts();
        // Checking both conditions that localStorage value of address should not be empty and metamaskLogin should be true.
        if(user_address !== '""' && metamaskLogin) {
            setMetamaskLogin(true);
            setCurrentAddress(JSON.parse(user_address));
        }
     }, [address])

    return(
        <>
{/* If metamasklogin is true show the address else, return the Connect with Metamask button*/}
        {metamaskLogin ? <span className="navbar-address">Address : {currentAddress}</span> : <Button variant="primary" onClick={handleConnect}>Connect with Metamask</Button>}
        </>
    )

}

export default WalletConnect;
Import this Component on your Homepage
Import the ConnectWallet component. To import and create a button/address info element on Homepage, just add a few more lines like the below in app.js
import './App.css';
import {Container, Row, Col} from 'react-bootstrap';
import WalletConnect from './components/WalletConnect'
function App() {
    return (
        <Container fluid className="App">
            <Row className="content-row">
                <Col>
                    <h1>Welcome to the Homepage!</h1>
                    <WalletConnect />
                </Col>
            </Row>
        </Container>
    );
}

export default App;
Result :
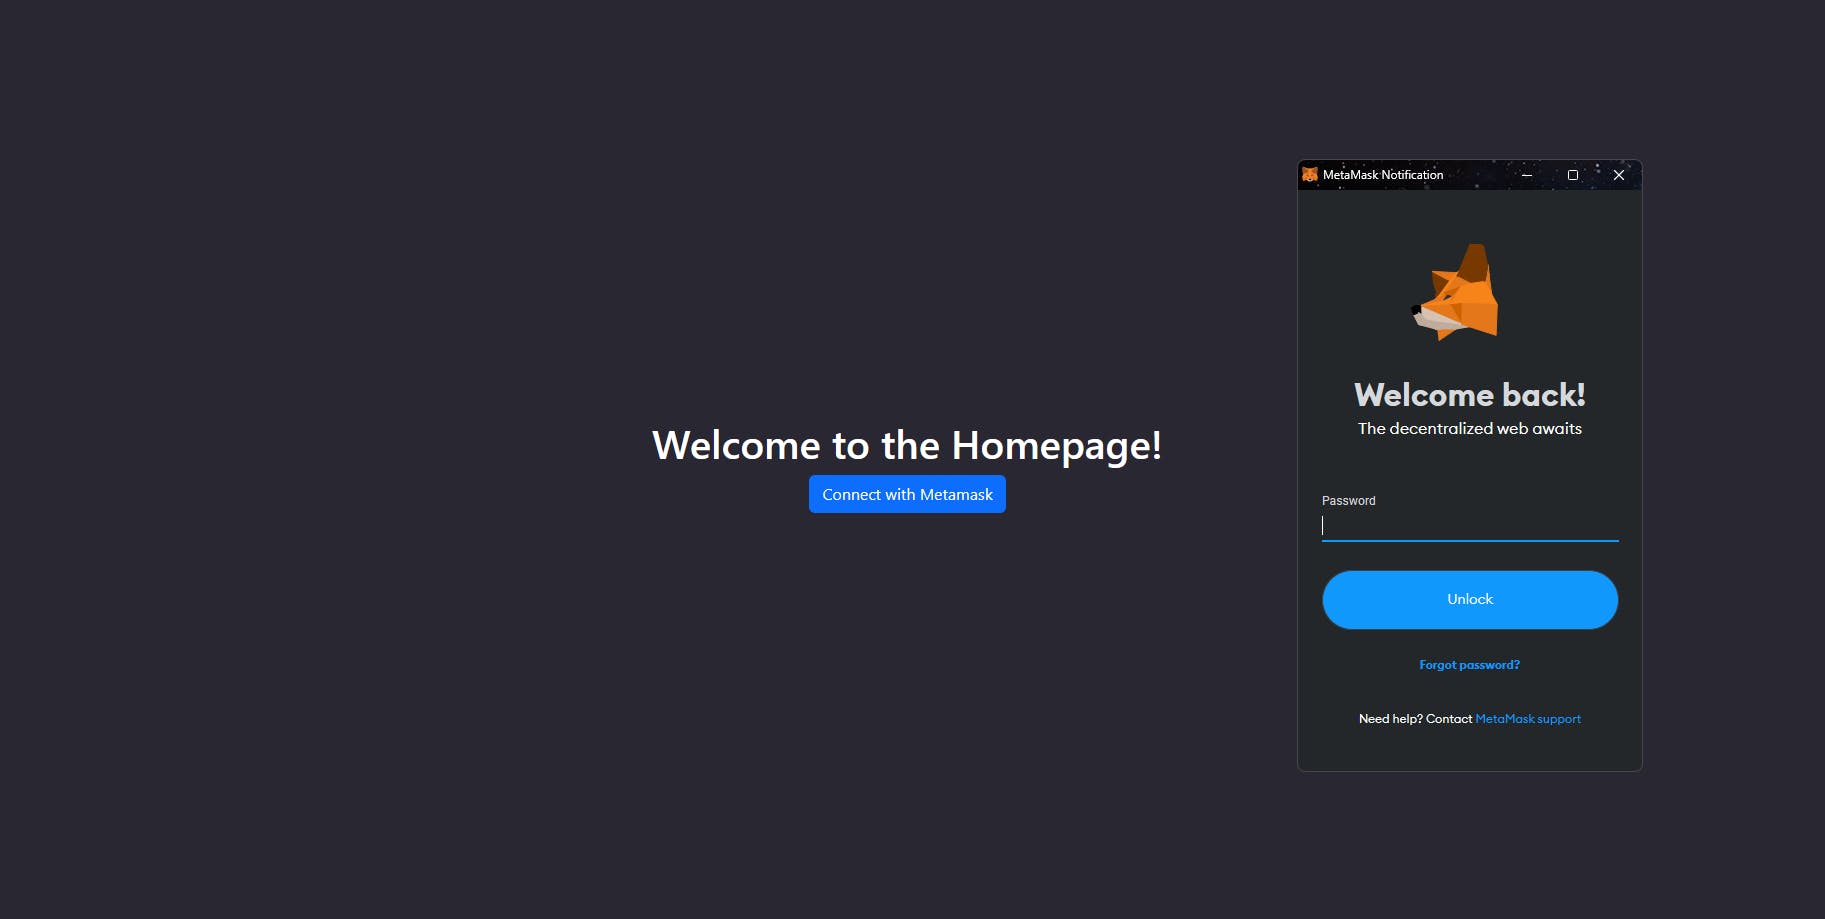
Using the above code - As soon as you run or open the URL for your React app. Metamask or your wallet will automatically prompt you to log in with your password.
You can optionally choose to remove the automatic prompt behavior from your app and give the user an option to prompt login by only clicking the Connect Wallet button. To do the same, just remove checkAccounts(); call from your useEffect hook
useEffect(() => {
        const user_address = localStorage.getItem('address');
        // checkAcounts();  REMOVE THIS LINE FROM PREVIOUS CODE
        if(user_address !== '""' && metamaskLogin) {
            setMetamaskLogin(true);
            setCurrentAddress(JSON.parse(user_address));
        }
     }, [address])
That's it - You are all done with your coding part and ready for testing. So, go ahead and run your react app with npm start and login to your metamask.
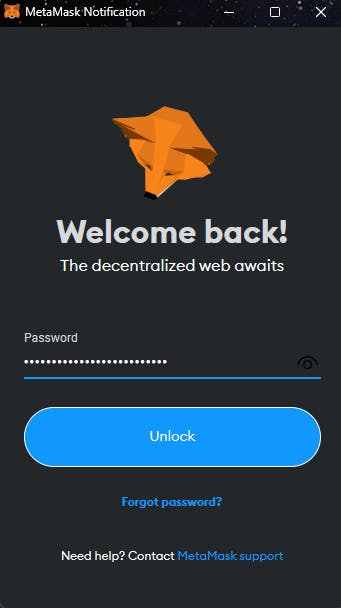
As soon as you click on Unlock, the WalletConnect component will re-render with the current active address and store it in the localStorage which will remain persistent.
Result :
You can go ahead and switch your account, it will re-render without refresh and with the latest account's address. Power of useEffect and states !!!
You can also test the persistence by refreshing the page. Voila! The address is still the same and you are still connected to your wallet.
Conclusion
This was a small piece of the puzzle in the big world of Web 3.0 and dApps. Adding a "Connect your wallet" option is a very basic and soon-to-be boiler-plated in any library. This button is just the beginning of the application that you can create. For example, you can go ahead and add smart contracts in your application to send eth or tokens to any address. The possibilities are endless !!